How to Install Getbehind.me on Mac OS X:
Step 1 – Download the latest version:
Click here to download the latest version of Getbehind.me client for Mac OS X.
Step 2 – Extract the File:
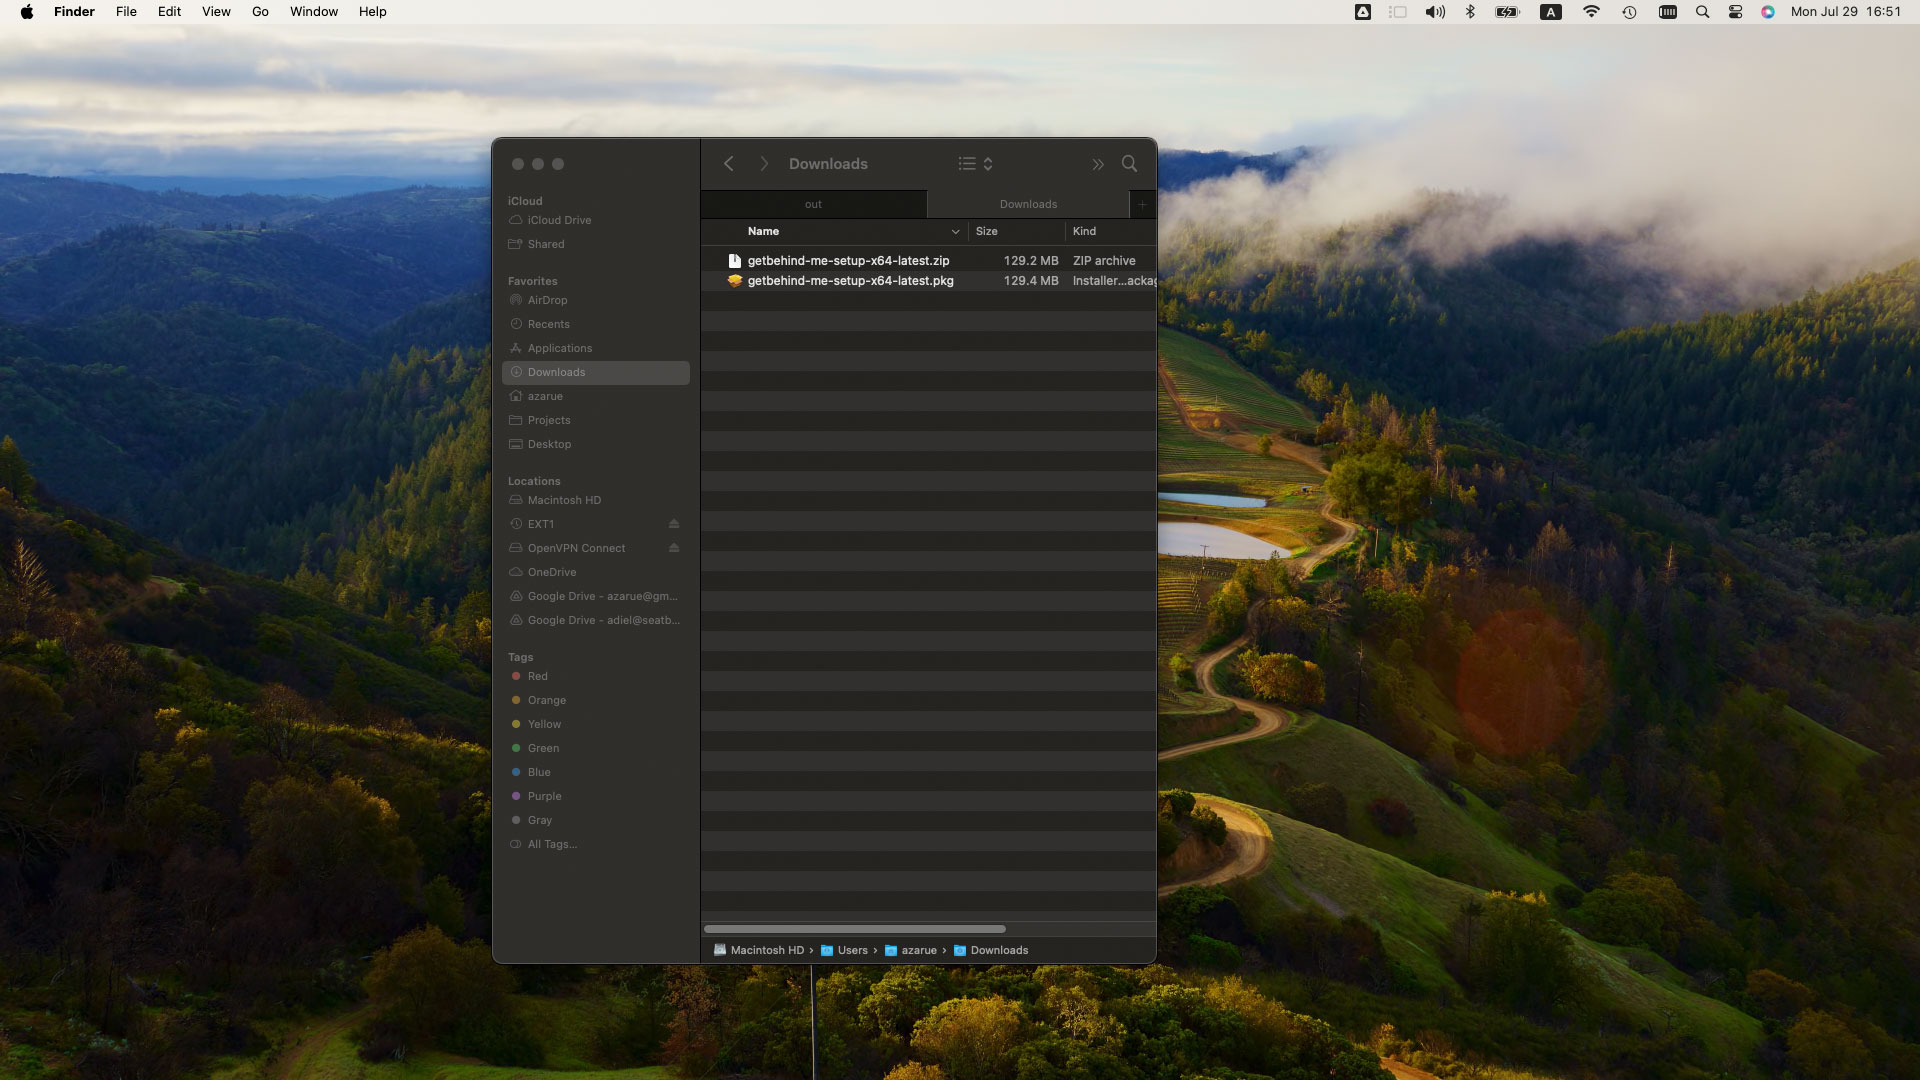
Locate the downloaded ‘getbehind-me-setup-x64-latest.zip’ in your Downloads folder. Double-click the file to extract the package installer.
Step 3 – Installation
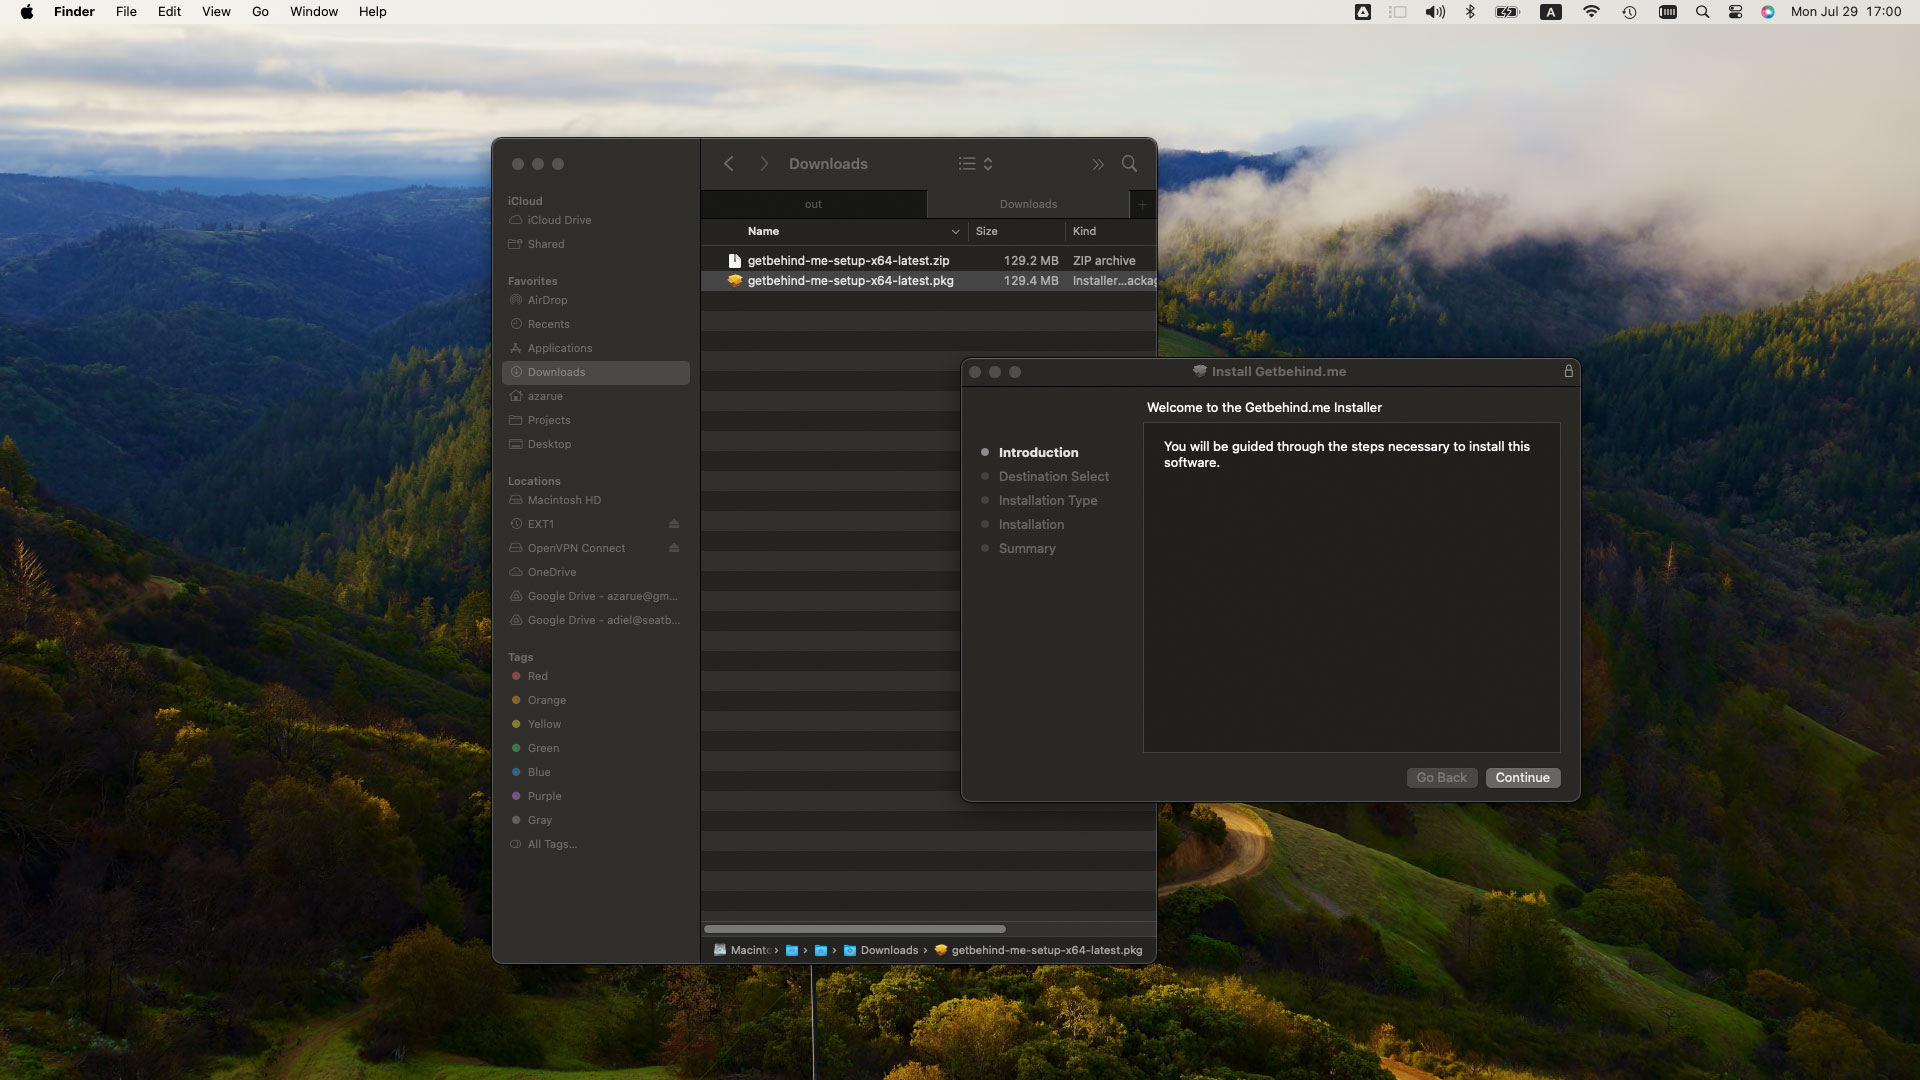
Double-click on the file ‘getbehind-me-setup-x64-latest.pkg’. The Installer window will be shown. Click ‘Continue’
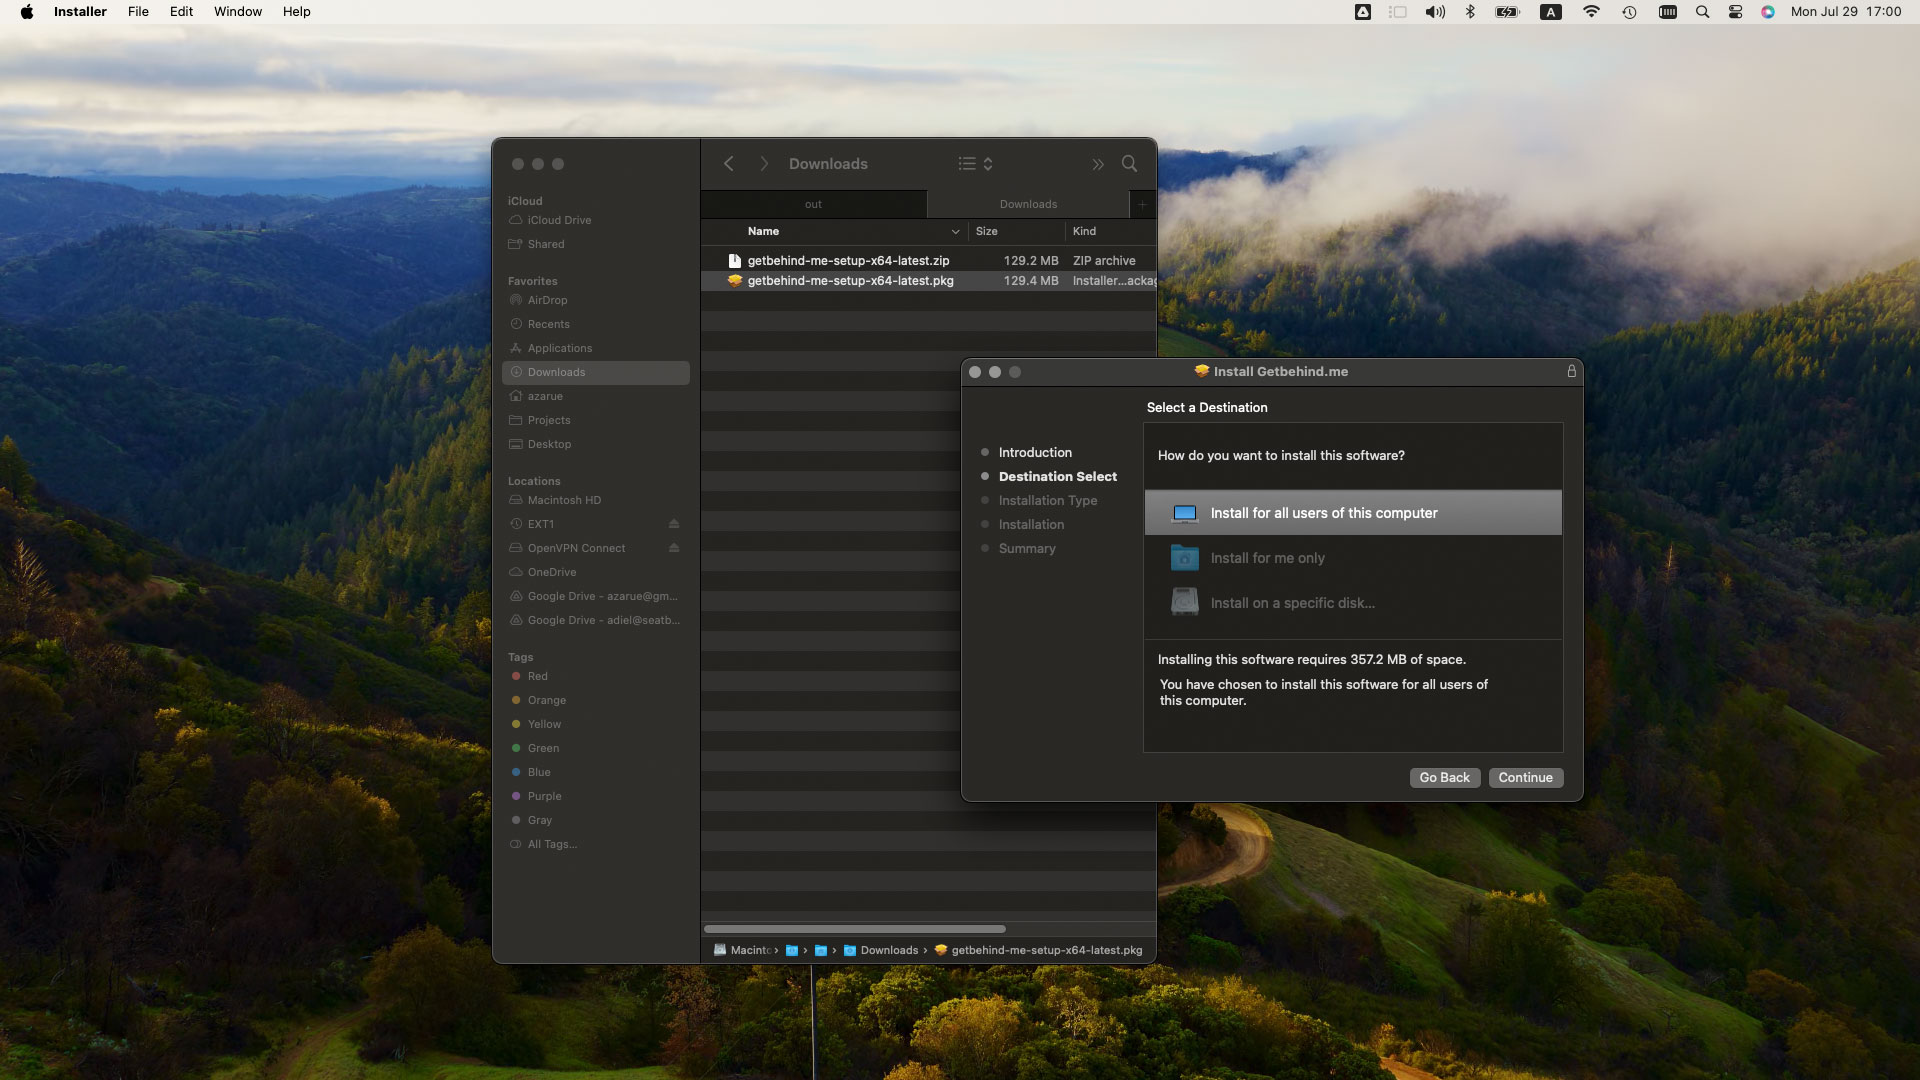
On the select destination step, click the ‘Continue’ button
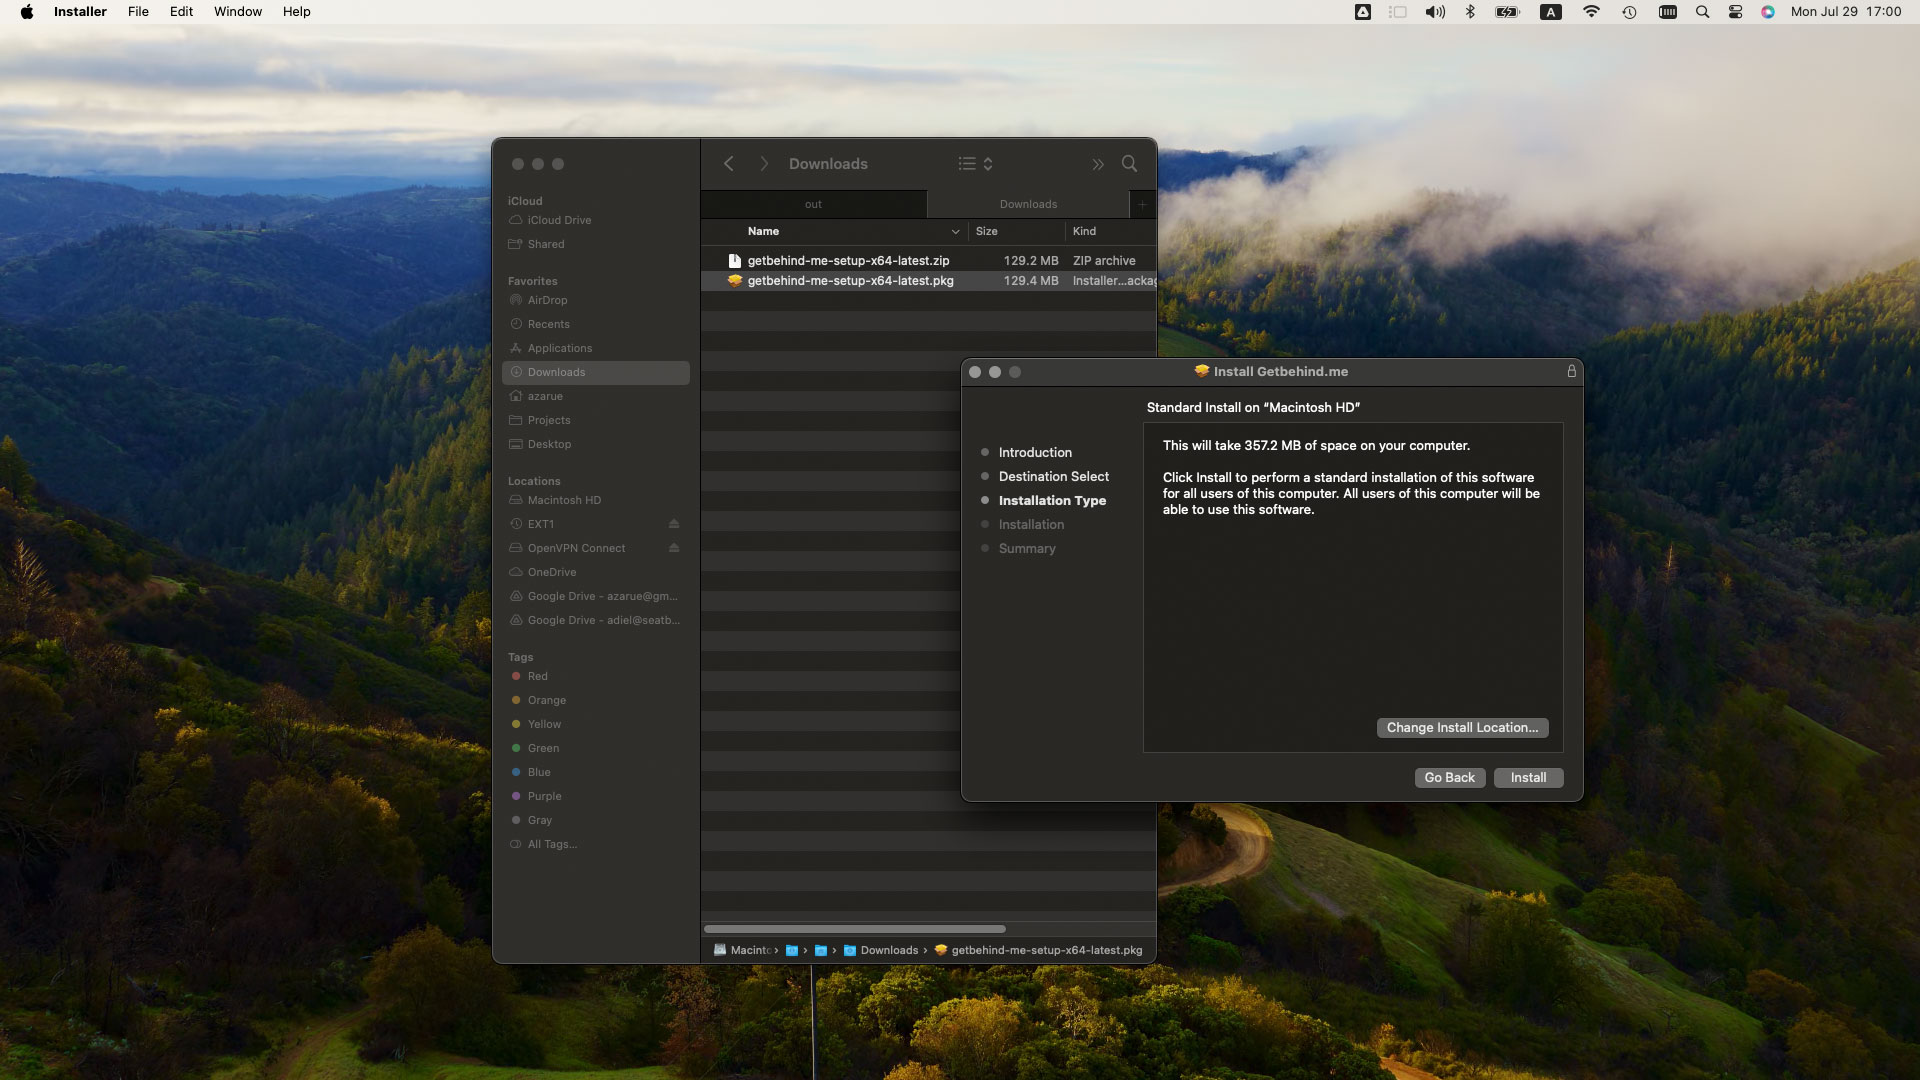
Click ‘Install’
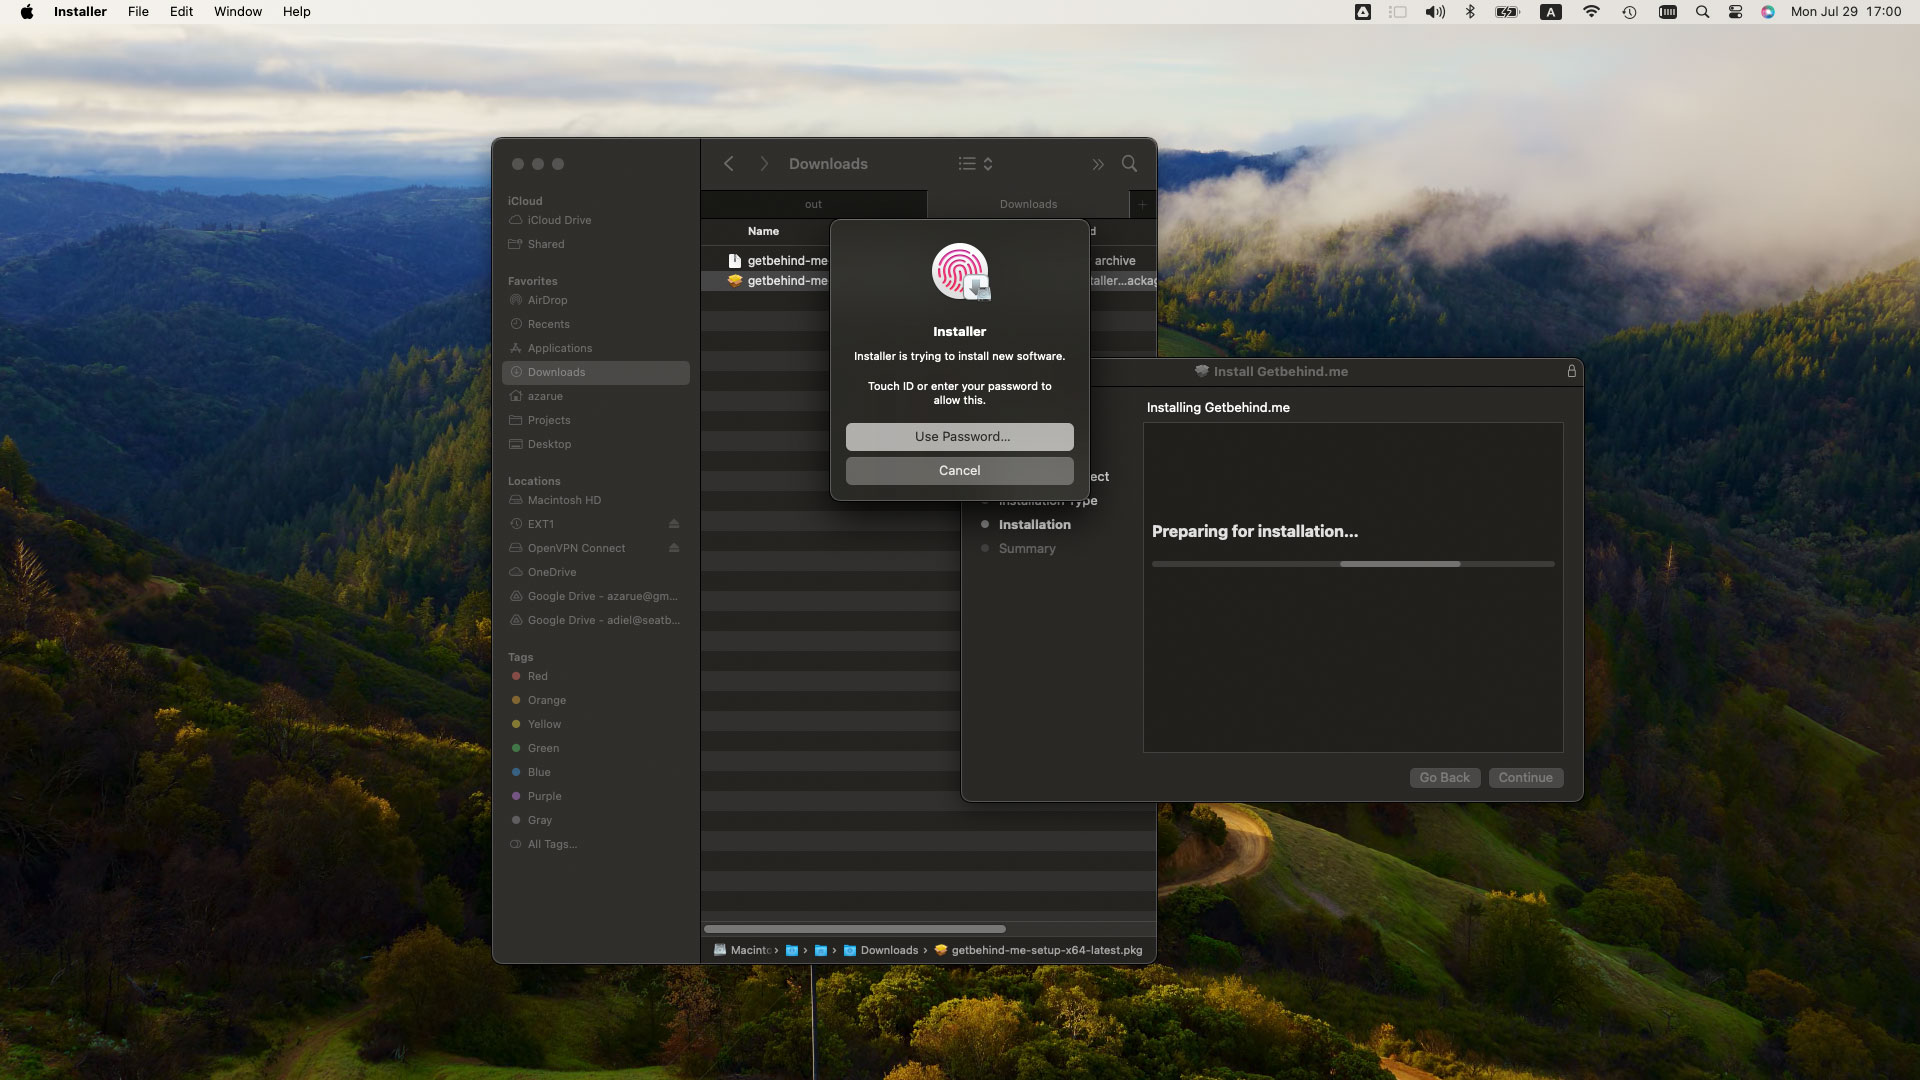
Allow the installer to run by typing your password or using your fingerprint.
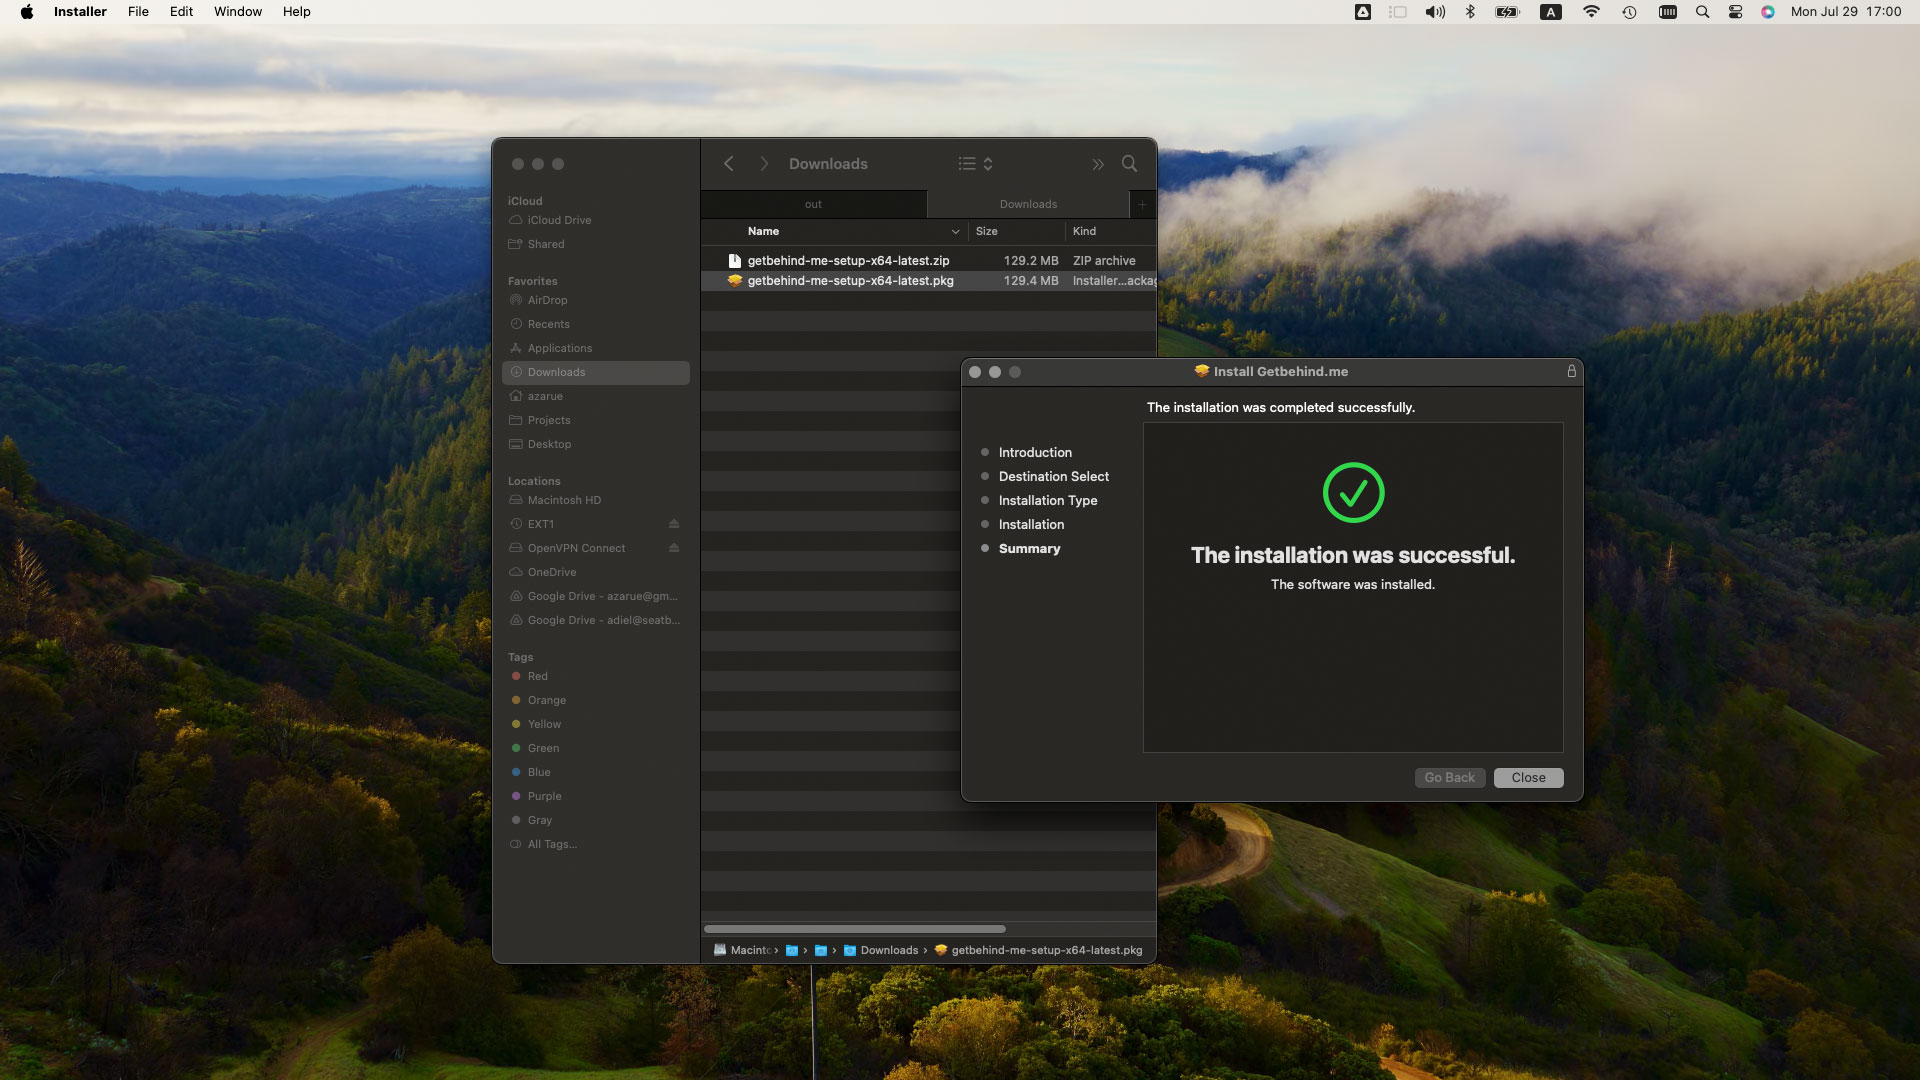
If installation completes successfully, you’ll see the message ‘The installation was successful”
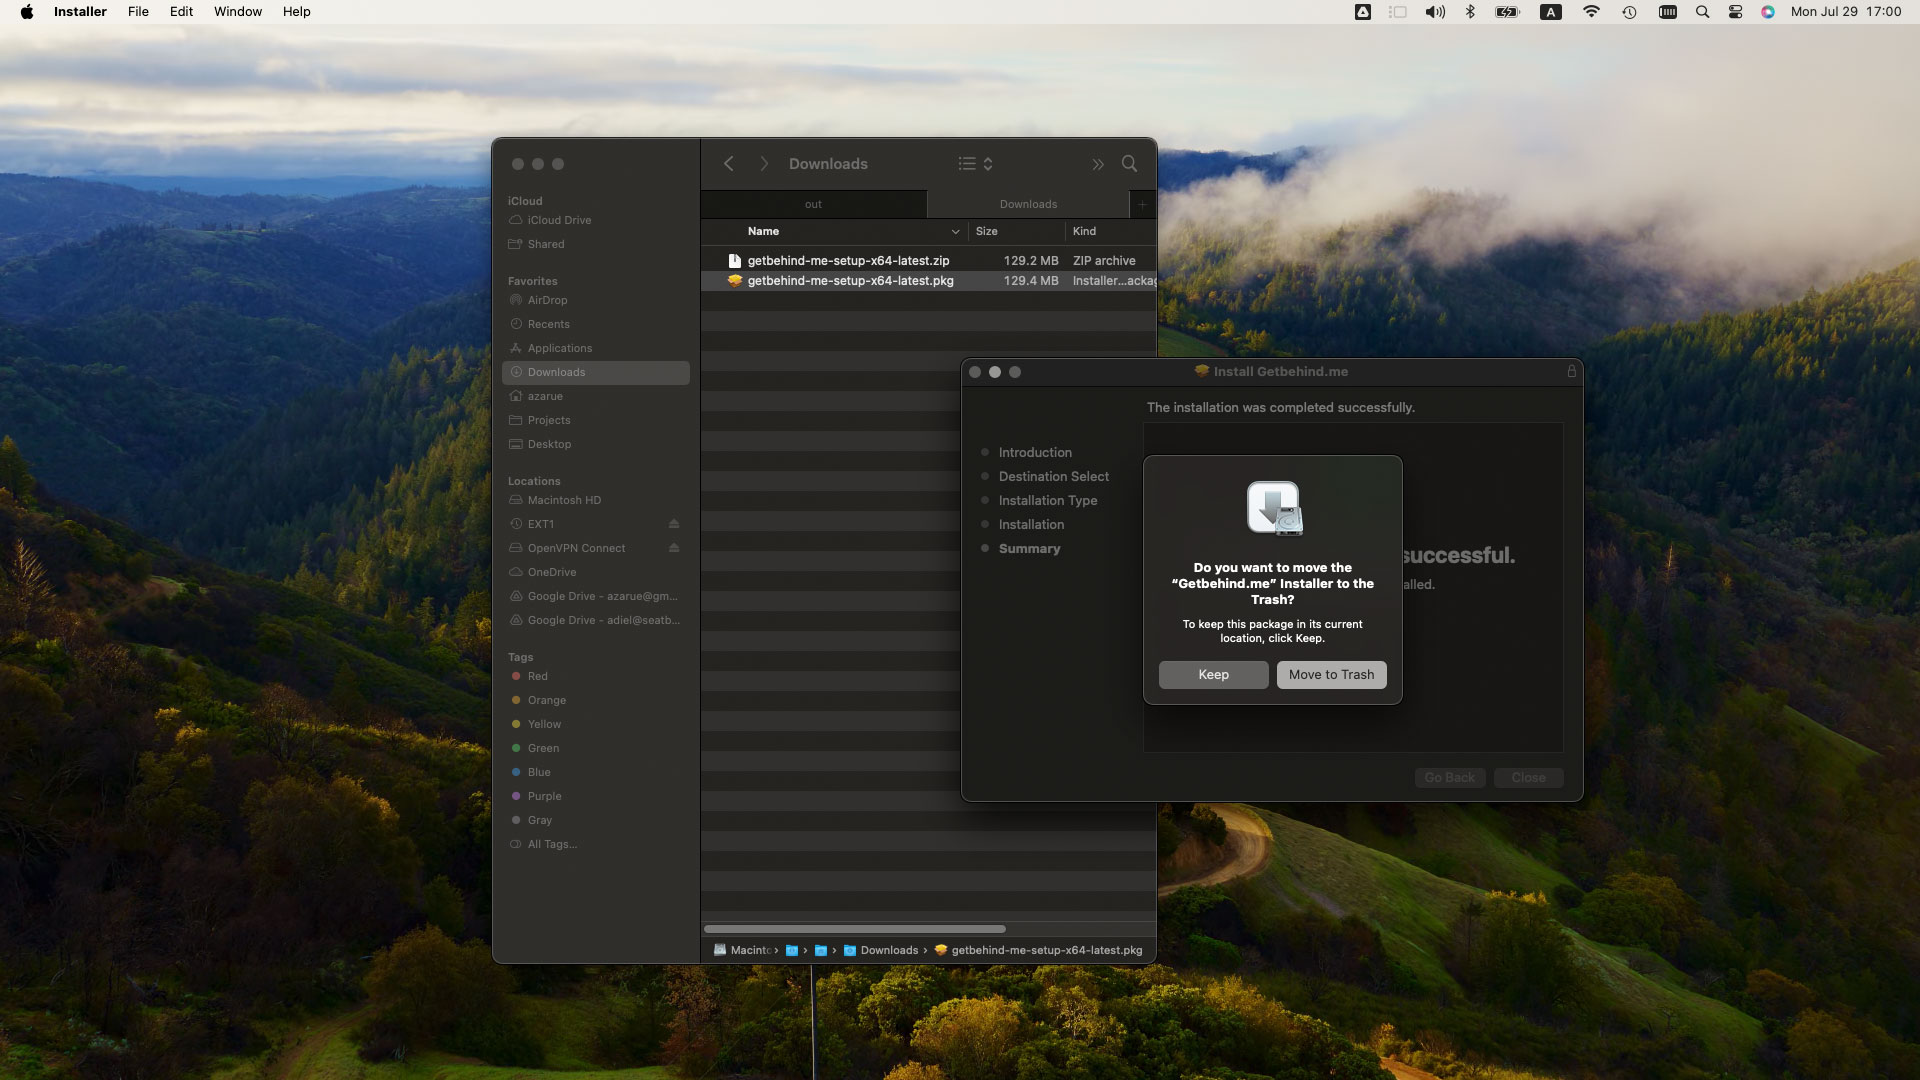
After the installation, you can choose to trash the installer.
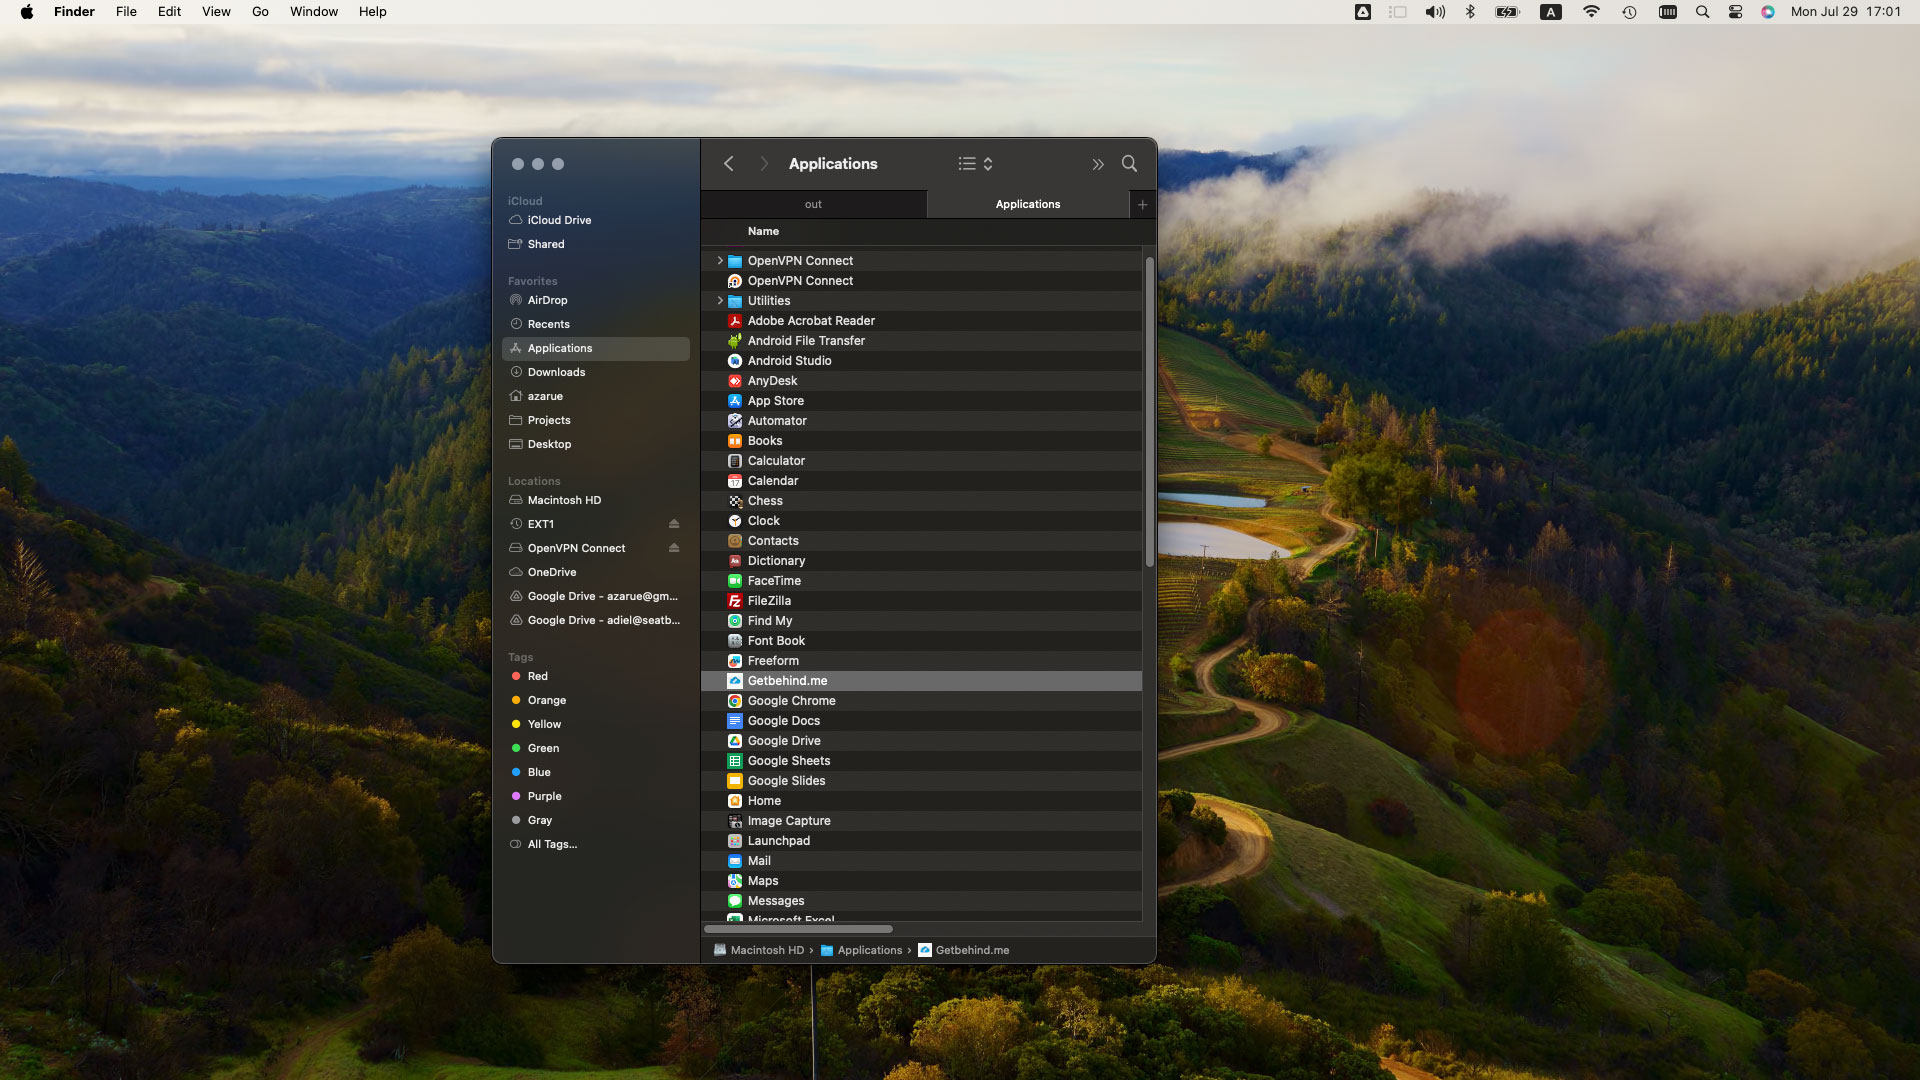
Step 4 – Launch The App:
Go to your application and double click the app ‘Getbehind.me’
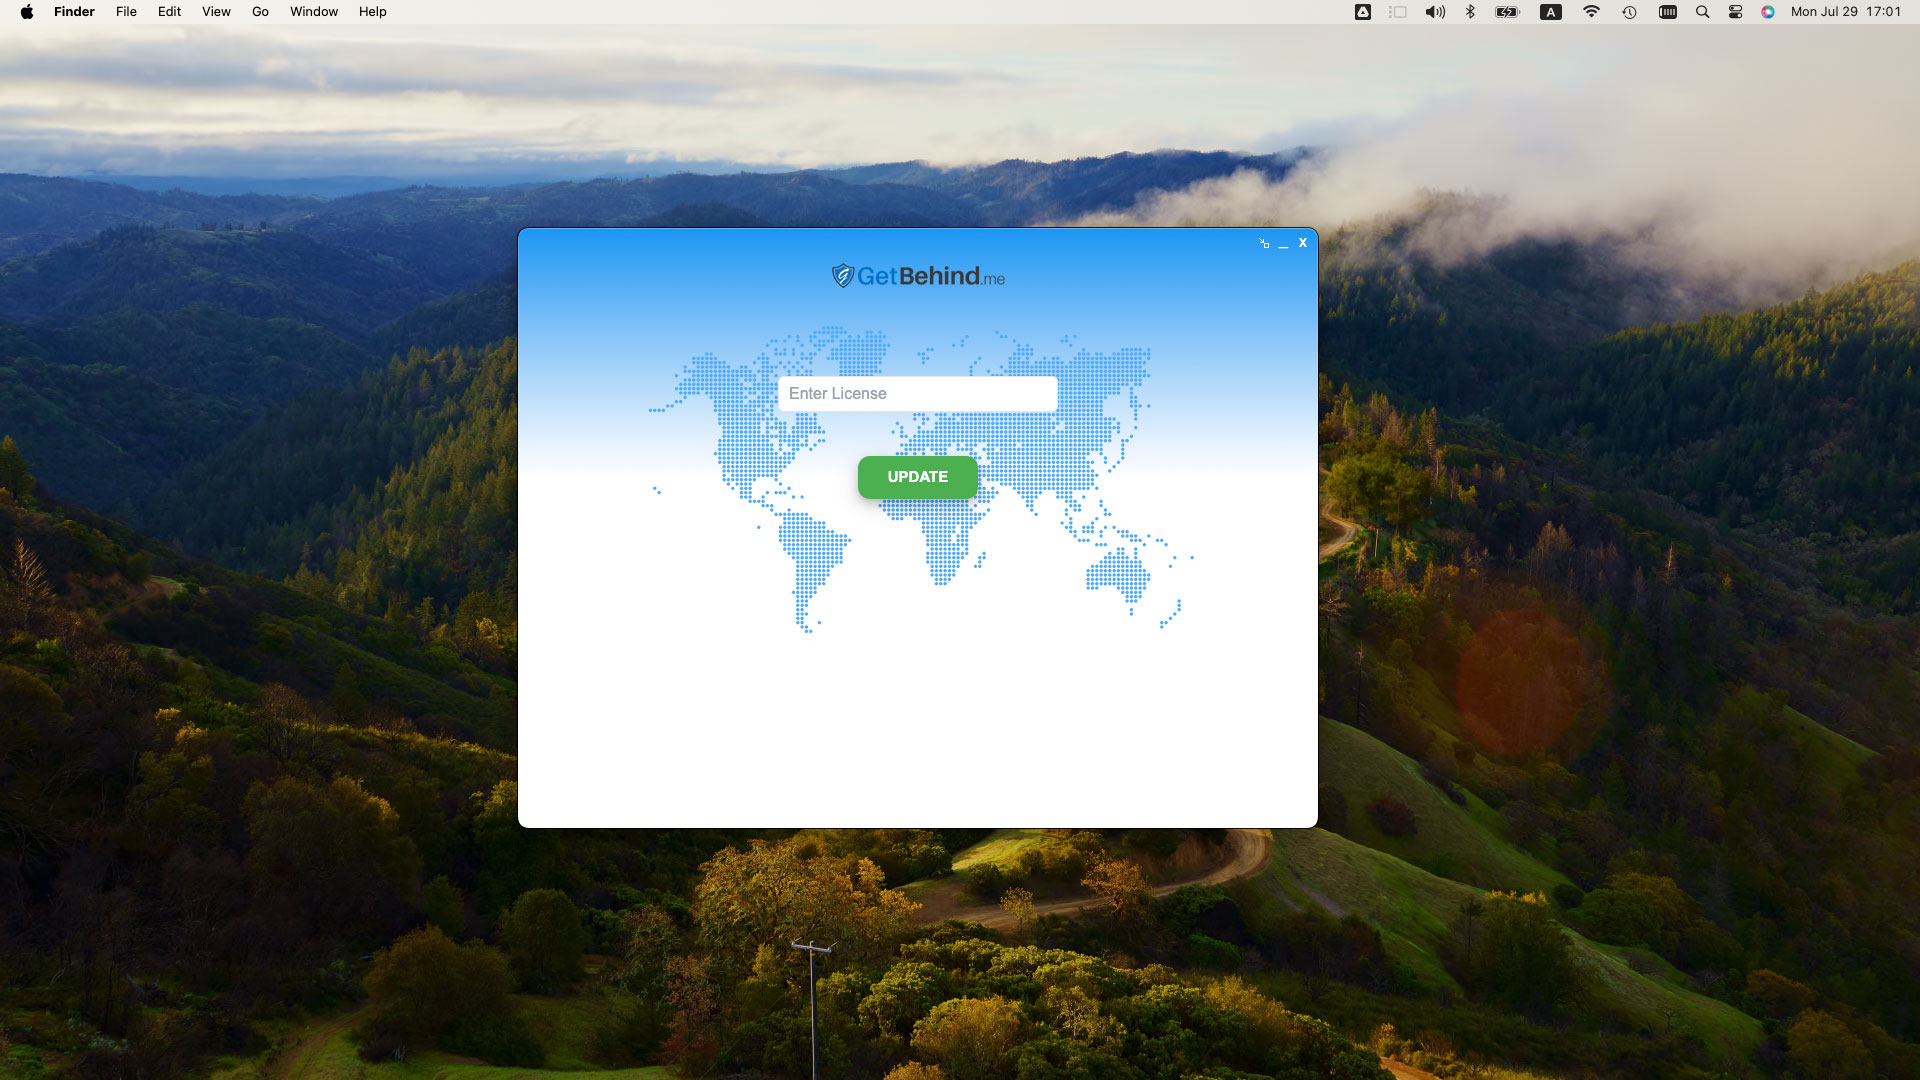
Step 5 – Activate the app:
In the license textbox, type your license key and click the ‘update’ button. Your license key can be found in the order details email or you can view it on your account dashboard.
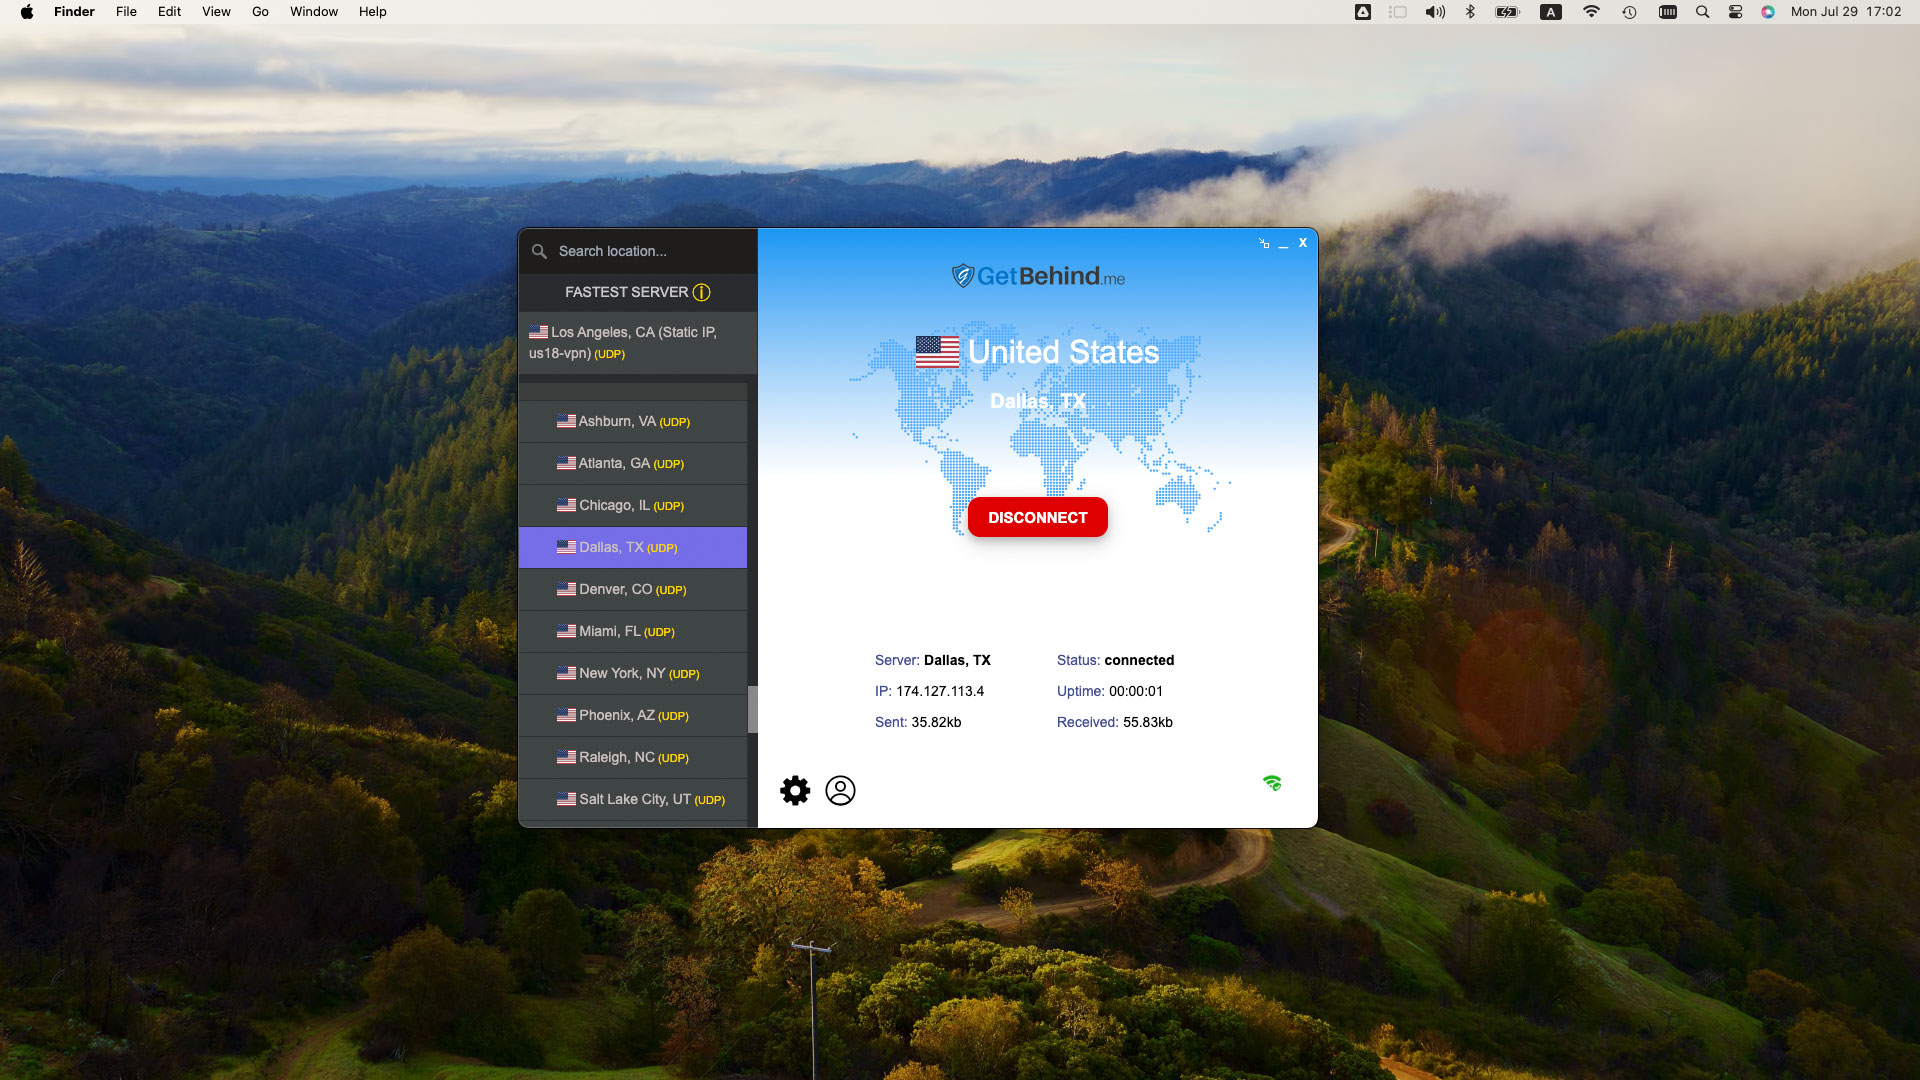
Step 6 – Connect to a server
Choose a server from the list on the left and click the ‘Connect’ button